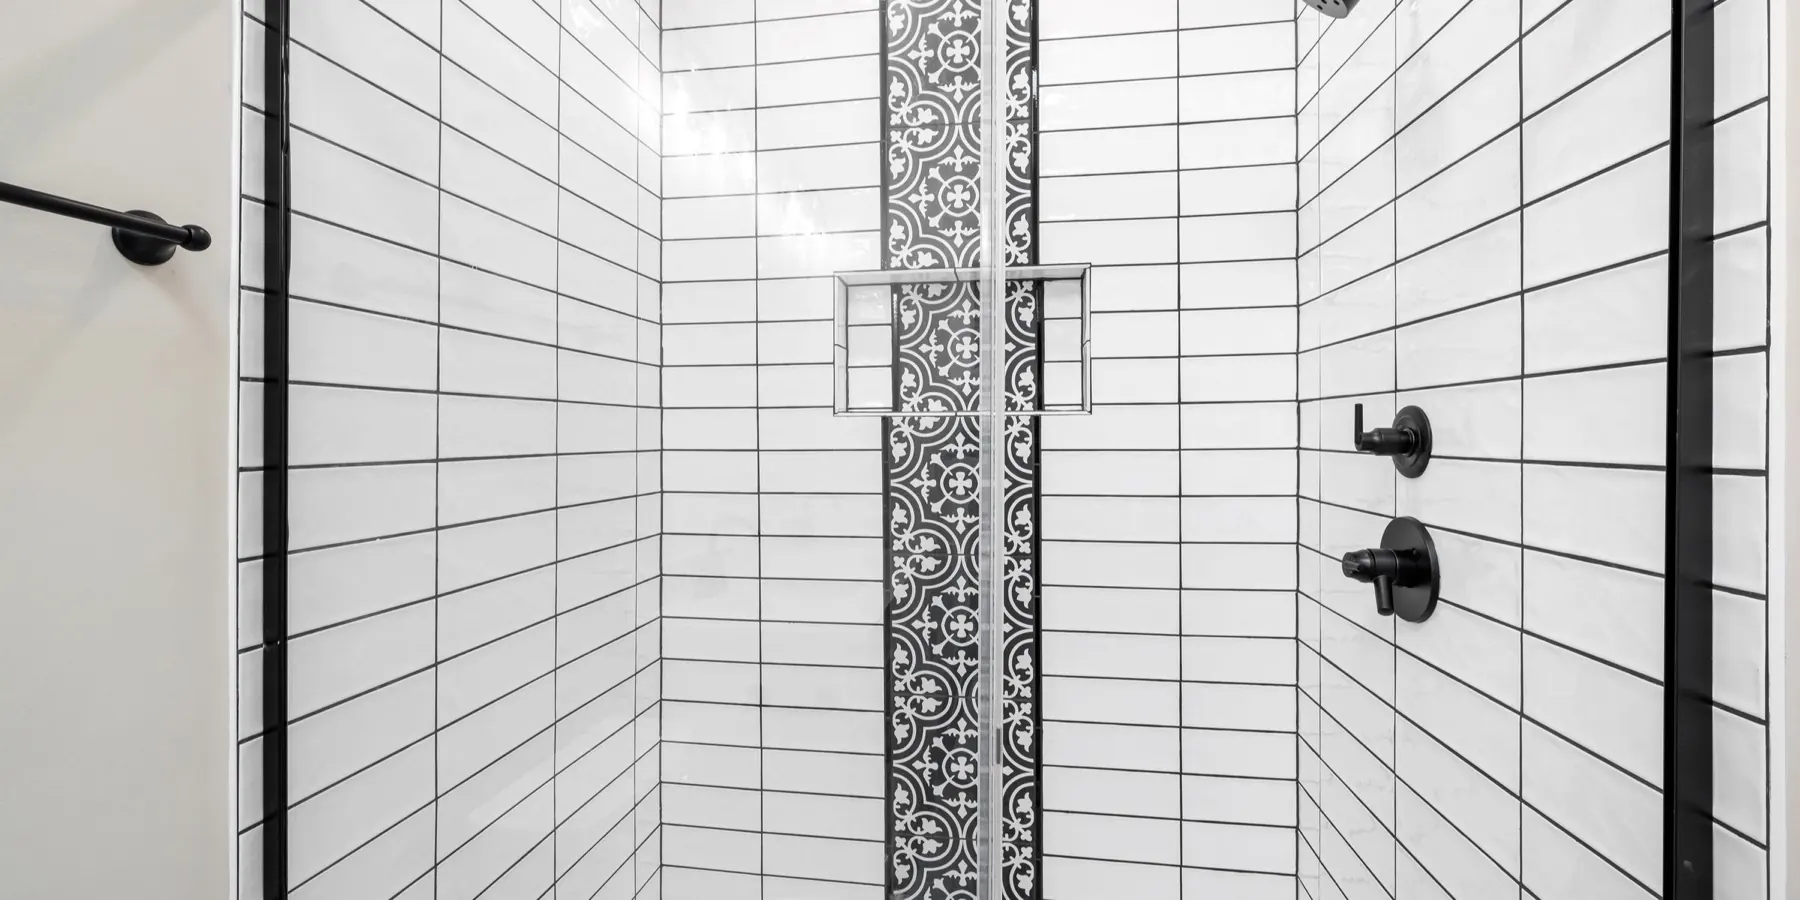
Shower and backsplash tile
Shower tile calculator
Tile a shower or a backsplash and get the tiles, boxes, grout, thinset and edge trim for it. Each wall, niche and outlet cut-out is entered at its own size, and the 3D preview shows your tile and grout colors.
Enter the jobOptional
What will it cost?
Every material the calculator worked out gets its own price. Each field starts at a typical US figure so you have something to work from — change any of them to what your own supplier charges.
These prices are approximate. They are national US retail figures, and what you actually pay varies with your region, your supplier, the season and how much you buy at once. Treat them as a starting point, not a quote — always price the job from your own supplier's current figures before you order.
Your prices
Tools for the job
What makes this job easier
Tools and materials that suit this kind of job. These are affiliate links: if you buy through one, Renovimo may earn a commission at no extra cost to you. It never changes the figures on this page.
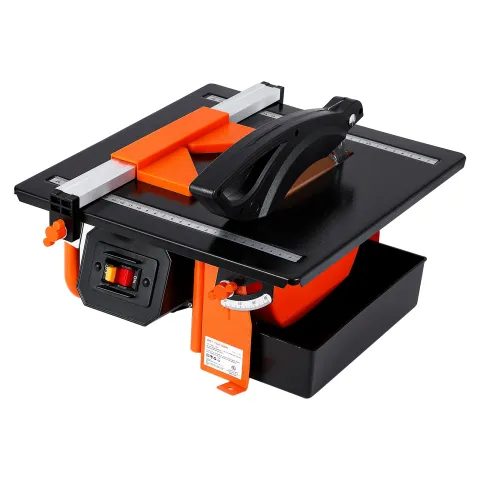 Garvee
7 in wet tile saw
Cuts porcelain and ceramic cleanly for the niche edges, around the valve and for the last tile in each course.
Check price
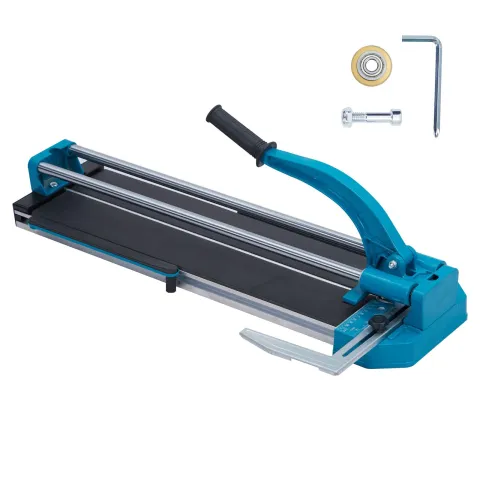 Garvee
Manual tile cutter, 48 in
Scores and snaps the long straight cuts on subway and 12 × 24 tile without water or dust in the bathroom.
Check price
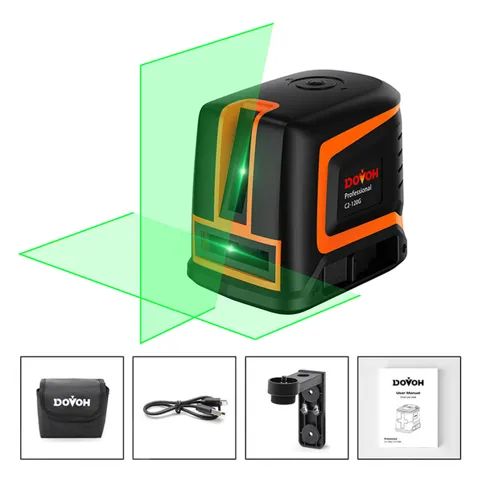 Dovoh
Cross-line laser level, green
Projects a level and a plumb line at once, so the first course and the vertical layout line stay true up the wall.
Check price
 Garvee
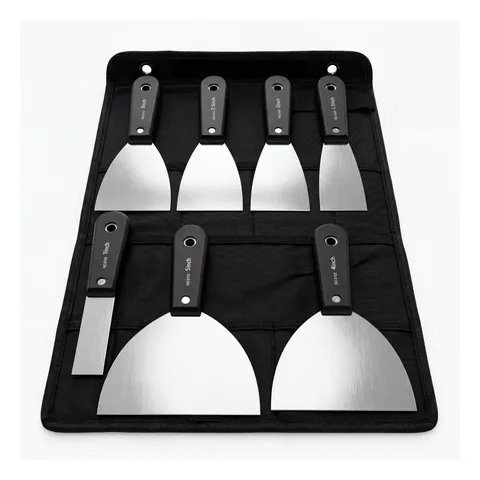
Putty knife set, 1–5 in
Scrapes squeezed-out thinset from the joints before it sets, and spreads patching compound on the board.
Check price
 Garvee
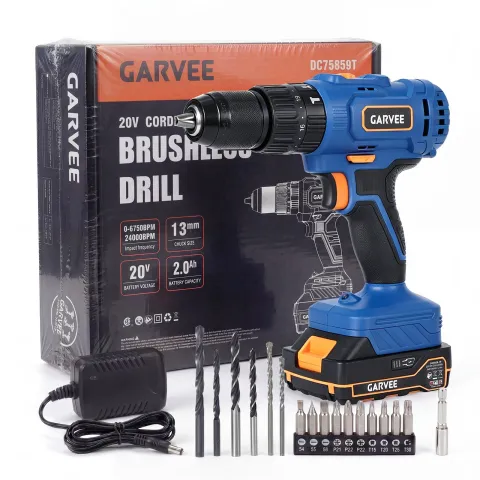
20V cordless hammer drill
Drills the pilot holes and anchors for the glass panel hardware and the grab bar after the tile is up.
Check price
 Garvee
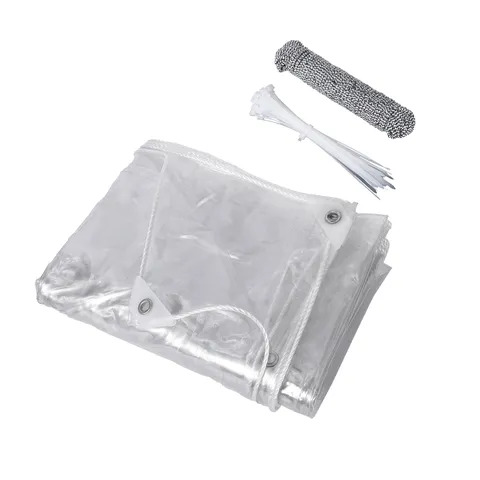
Clear PVC tarp, 8 × 10 ft
Covers the floor and the vanity while you mix and tile, and keeps thinset off the tub or pan.
Check price
Not the tool you were after? Browse the whole range at Garvee or Dovoh — the stores these picks come from.
Based on your result
What you'll need
Quantities update after every calculation. A shower is counted from the backer board out: board, waterproofing, setting bed, tile, grout, sealer, edges and the caulk at every change of plane.
- Wall tile
- Boxes of the size you chose, waste included
- Calculate above
- Floor tile
- Sheets or boxes of the floor tile, waste included
- —
- Cement backer board
- 1/2 in, 3 × 5 ft sheets on the walls
- —
- Backer screws and tape Amazon
- 1-1/4 in screws every 8 in; 2 in alkali-resistant mesh tape
- —
- Waterproofing Amazon
- Liquid membrane in gallons, or sheet membrane in rolls
- —
- Thinset Amazon
- Polymer-modified, the trowel notch matched to the tile
- —
- Grout Amazon
- Bags of the size you chose, for the joint width
- —
- Edge trim Amazon
- Schluter-type profile in 8 ft 2½ in lengths
- —
- Silicone caulk Amazon
- 100% silicone, 10.1 oz tubes, for corners, the floor joint and the curb
- —
- Grout sealer Amazon
- One quart of penetrating sealer for cement grout
- —
- Notched trowel Amazon
- Square-notch for walls, matched to the notch above
- —
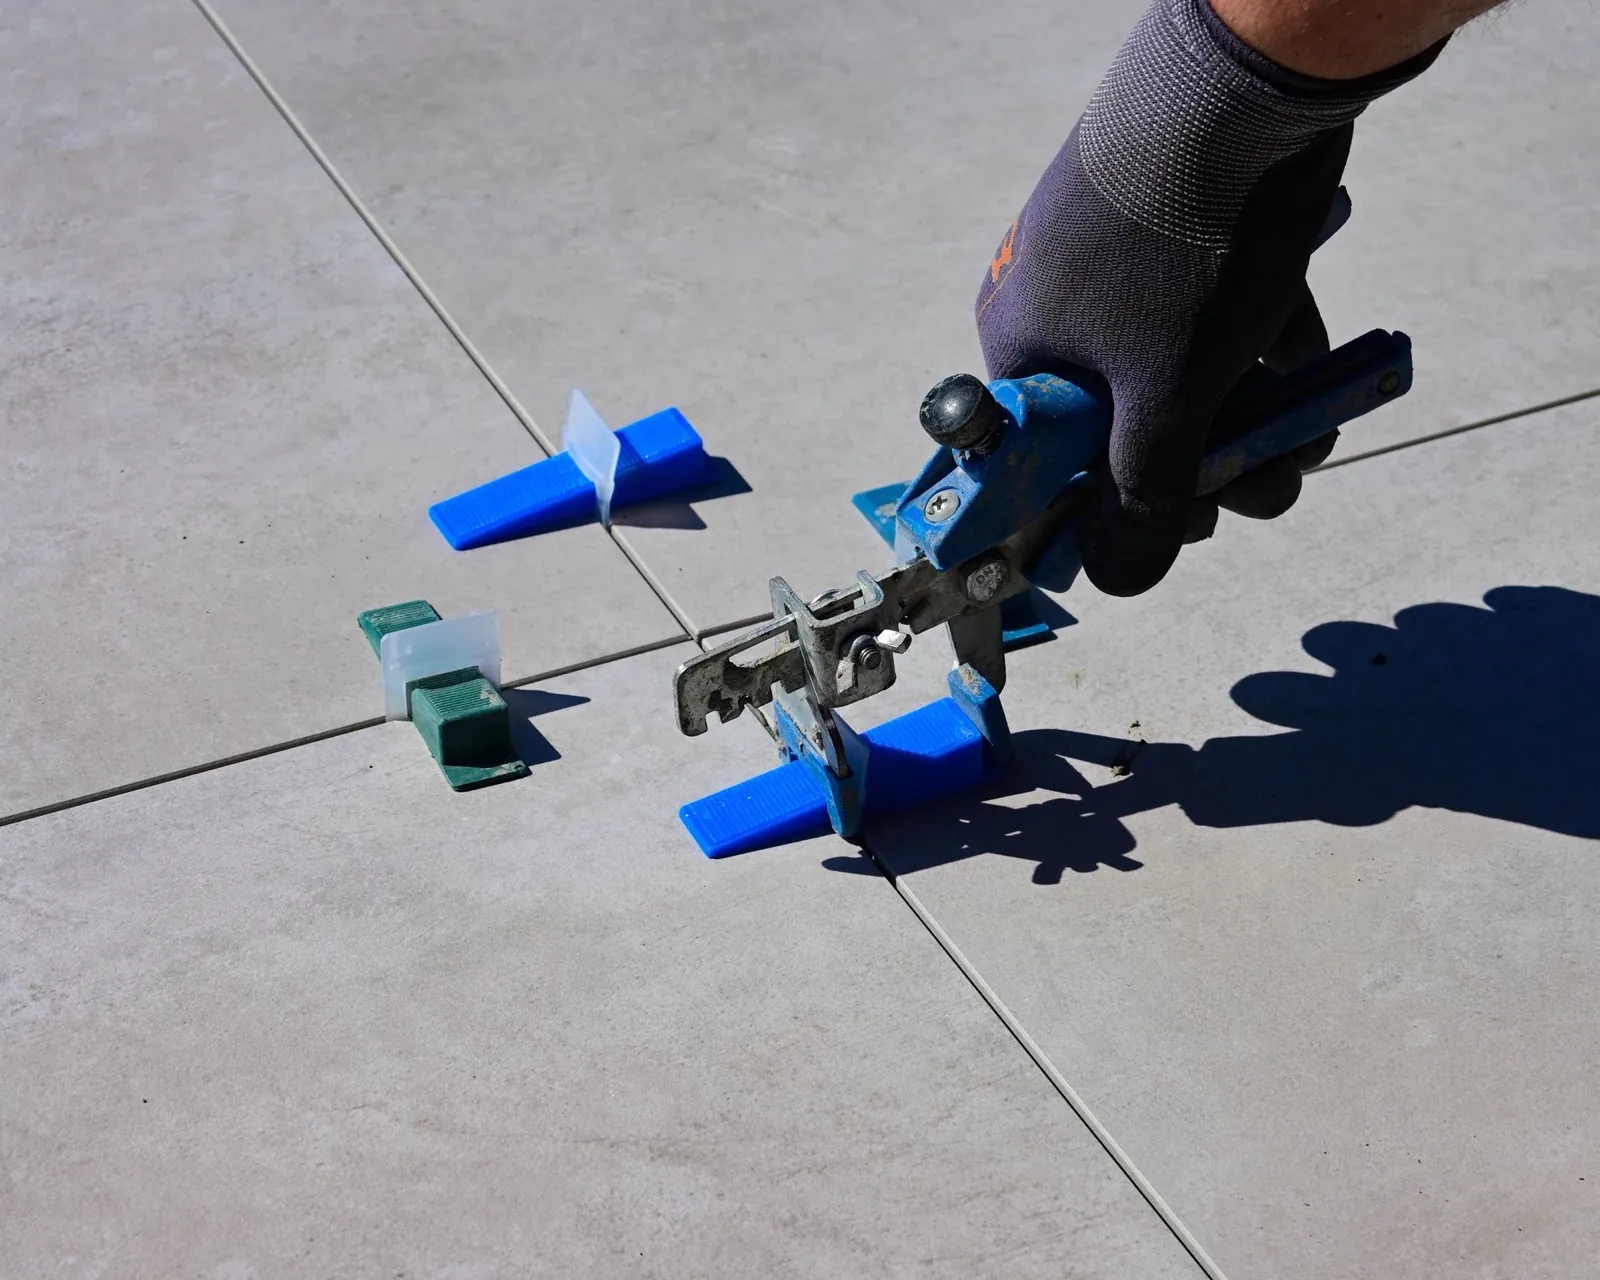
- Spacers or levelers Amazon
- Match the joint width; levelers for tile with a side of 15 in or longer
- —
As an Amazon Associate I earn from qualifying purchases.
The maths
Shower tile calculator: how the area is counted
Every tiled surface is a rectangle: walls, floor, the curb and the inside of each niche. Add them, add waste, and convert the area to tiles, boxes, grout and thinset.
niche = 2 × (w + h) × depth ÷ 144 · curb = length × (2 × height + width) ÷ 12
order = area × (1 + waste) · tiles = ⌈ order × 144 ÷ ((w + joint) × (h + joint)) ⌉
grout = ⌈ area × lb per sq ft × thickness ÷ row thickness ÷ bag lb ⌉ · thinset = ⌈ area × (1 + back-butter) ÷ sq ft per bag ⌉
The coverage figures are the ones in the grout and thinset drying and coverage guide. For a floor in a whole room use the tile calculator.
- 01
Measure each wall at its own size
Width and height of every wall you are tiling. Walls of different heights, or ones that stop below the ceiling, each get their own row.
- 02
Add the floor, the curb and the niches
The floor is width times depth. A curb has three faces. A niche adds its four return faces; its back replaces the wall it was cut out of.
- 03
Add waste for the layout
The Layout you pick sets the waste: 10% for a straight grid, 15% for a running bond or a diagonal, 20% for herringbone. These are retailer rules of thumb; change the Waste box to override them. The floor has its own waste, 10% for mosaic sheets laid straight.
- 04
Convert to tiles and boxes
Tiles are the order area divided by the area of one tile plus its joint, so the count is a little below the face-size count; mosaic is ordered by the 12 in sheet. Boxes are the order area divided by the sq ft in a carton, and the boxes are what you buy.
- 05
Add the edge trim
Trim goes on every exposed edge. A shower alcove shows an open vertical edge at each end (none once four walls enclose it, but every door opening shows two jambs), each niche is framed on all four sides, a tiled curb shows both top edges, and the top of the tile needs a profile when you tick that it stops below the ceiling. A backsplash gets its top edge when you tick it, and its two ends only when you say they are exposed. Pieces are 8 ft 2½ in long.
- 06
Size the grout and the thinset
Grout by the nearest listed tile size and the joint width, scaled by joint length per area for a tile smaller or longer than that row (a 2 × 2 mosaic uses about twice the 4 × 4 figure) and by tile thickness against the thickness the row was charted for (1/4 in for the 4 × 4 and 6 × 6 rows, 3/8 in for the rest), so a 5/16 in subway uses a quarter more than a 1/4 in tile. Walls and floor are worked out separately and their grout is bought together. Thinset by the trowel notch, with 25% more for tile with a side of 15 in or longer, which is back-buttered.
- 07
Add the rest of the wet-area kit
Liquid waterproofing is the area divided by 55 sq ft a gallon (RedGard, two coats); sheet membrane is the area plus 10% for overlaps, in the fewest rolls of 54, 108, 215 or 323 sq ft, plus a 5 in band over the corners and the wall-to-floor joint. Backer board is the wall area plus 10%, divided by 15 sq ft a sheet, with screws every 8 in and about 8 ft of seam tape a sheet. Caulk is one tube per 40 ft of corner, floor joint and curb; sealer is a quart per 200 sq ft of cement grout.
Backsplash
Backsplash tile calculator: strip, outlets and trim
A backsplash is a strip of tile from the counter up: its length times its height, less every outlet and switch opening. A 10 ft run 18 in high is 15 sq ft; two 4 × 2 in cut-outs take out 0.11 sq ft, leaving 14.89. The standard strip is 4 in on a stone splash, 18 in to the bottom of the wall cabinets and up to the ceiling behind a range.
Switch the calculator to Backsplash, enter each run and each cut-out at its own size, and the same tile, grout and thinset maths applies. Where the tile stops below the cabinets the top edge shows, so tick the trim box.
Grout and thinset
How much grout and thinset for shower tile
| Tile | 1/16 in joint | 1/8 in joint | 3/16 in joint |
|---|---|---|---|
| 4 × 4 in | 7 lb | 14 lb | 22 lb |
| 6 × 6 in | 5 lb | 9 lb | 14 lb |
| 12 × 12 in | 4 lb | 7 lb | 11 lb |
| 12 × 24 in | 3 lb | 5 lb | 8 lb |
| 24 × 24 in | 2 lb | 4 lb | 5 lb |
| Trowel notch | Sq ft a bag |
|---|---|
| 1/4 × 1/4 in | 90 |
| 1/4 × 3/8 in | 65 |
| 1/2 × 1/2 in | 40 |
Sources: Custom Building Products TDS-360 grout coverage chart, scaled for each tile size, joint and thickness; the rows are for tile ⅜ in thick (¼ in for 4 × 4 and 6 × 6 wall tile); thinset coverage from the Mapei Ultraflex and Custom VersaBond data sheets per 50 lb bag; the page uses 90, 65 and 40 sq ft, the low-to-middle of the published VersaBond ranges (90–100, 60–67 and 42–47), so the bag count rounds up rather than short. Custom does not recommend the 1/2 × 1/2 square notch for large tile and prefers a 3/4 × 9/16 × 3/8 U-notch. Full table and drying times in the grout and thinset guide.
Good to know
Shower tile questions, answered
Add the area of every wall you are tiling, the floor, the curb and the niche returns, then add 10 to 15 percent for cuts. A 60 × 32 in alcove with three 8 ft walls, a niche and a tiled floor is about 98 sq ft before waste.
No. A niche is a recess: the opening it leaves in the wall is replaced by the niche back, so the area is the same. The four return faces, the sides, the top and the shelf, are extra tile.
The length of each run times the height of the strip, less every outlet and switch opening. A 10 ft run 18 in high is 15 sq ft, and the standard cut-outs take out a fraction of a square foot, so most kitchens are 20 to 40 sq ft.
It depends on the tile size and the joint: small tile with wide joints uses the most, large tile with narrow joints the least. 100 sq ft of 12 × 24 tile at a 1/8 in joint takes about 5 lb, a single small box. The table above lists every combination.
Cement backer board on the walls (3 × 5 ft sheets, screwed every 8 in, seams taped), a waterproof layer over it (liquid membrane at about 55 sq ft a gallon, or sheet membrane in rolls with a band over the corners), silicone at every inside corner and the floor joint, and a sealer for cement grout. The calculator counts all of them.
Wherever tile ends in a visible edge: the open sides of an alcove, around a niche, and along the top when the tile stops below the ceiling. A Schluter-type profile comes in 8 ft 2½ in lengths.